The Do’s and Don’ts of Printing ID Badges
An in-house badge program is an easy and convenient way to print badges on demand for employees, visitors or students — and it means you won’t have to worry about order minimums or potential delays.
After you’ve purchased a badge printer for your school or office, be sure to follow these do’s and don’ts when creating your badge program; that way, you’ll feel confident in making professional and functional badges, no matter what your design skill level may be.
Do think about what you want the badges to accomplish. Before designing your badges, think about what you’d like them to do. Are they simply for identification? Will they be used for time-clocking or building access?
Badges are versatile and can be used for a variety of roles. Once you’ve decided on the role badges will play in your organization, you can narrow down the type of badge and accessories you need.
Don’t forget to leave room for tech. If you’re planning on adding a magnetic stripe, barcode or RFID chip, make sure you leave space for those in your badge design. Printing over them can cause the tech not to work correctly.
Do choose accessories that make sense for your organization. Will the badges be worn? Carried in a wallet? Should they be visible? Will your staff be using them all day to access different areas? Knowing how you want the badges to be used and worn will give you a good idea of the different accessories you should order, such as lanyards, reels or sleeves.
Don’t use confusing fonts. Badges are made to be read. Make sure your font is clear and easy to read from a distance. It helps to print a sample and test it out in your work or school environment before committing to hundreds of badges.
Do include photos, if you can. If you’re working in an environment where security is important, adding photos to badges is an effective way to make sure everyone present in an area is authorized to be there. In customer-facing businesses, photos can help encourage positive interactions between staff and clients.
Don’t wait until the end of the year to order supplies. Many businesses wait until the end of the fiscal year to re-up on badge printing supplies, but this strategy can leave you stressed and stranded in unexpectedly busy seasons. Do a quarterly inventory check, and order as needed.
Do work with a company you trust. There are a lot of badge printing suppliers out there, and it’s important to choose the right partner for you. A well-respected company with transparent contracts and turnaround times will minimize delays, headaches and disappointment.
Setting Up a Badge Printing Program
Now that you’re prepared with our badge printing best practices, you can be confident in setting up your program. It’s actually relatively easy and only requires a few tools:
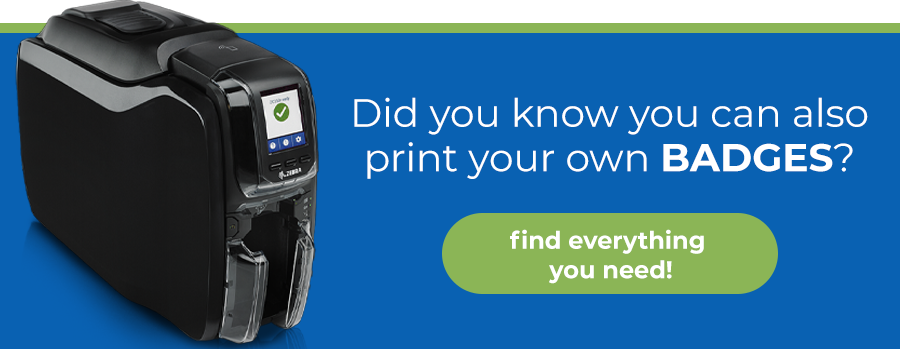
1. ID Card Printer. An ID card printer is the foundation of your program — and thankfully, there’s a printer for every budget and project size. The Zebra ZC100 Card Printer is a good choice for budget-conscious companies that only require single-sided printing, while the Zebra ZXP Series 7 Card Printer is made for high-production environments, like large hospitals.
2. Ink Ribbon. Depending on your ID card needs, there are color, clear and monochrome ribbon options that print from edge to edge. Whatever you decide, make sure you pick a compatible ribbon for your printer brand.
3. Blank ID Cards.Blank plastic cardsfor desktop card printers are typically made from either 100% PVC (polyvinyl chloride) or a composite mixture of PVC and PET (polyethylene terephthalate).
For typical printing without lamination, a PVC card or 100% PVC card is the most economical choice. For applications that require more durability or will be using lamination, Composite PVC/PET (also known as 60/40 cards) are your best choice.
4. Software and Camera. Card software, like AsureID, allows you to design your badges and print to your card printer from any typical workplace computer. If you’ve decided to include photos on your IDs, you’ll also need a camera.
5. Laminate and Overlays. Lamination protects your ID cards and keeps them looking professional for years to come, even in environments where badges see heavy use. Overlays are the right choice when you need to retransfer multiple images.
6. Clips and Lanyards. Customized lanyards can be printed with different colors, text and images to reinforce branding or support security processes. They are great additions for businesses that have a uniform or different building access for varying levels of staff. Lanyards come in a variety of options, including:
- Steel swivel J-hook. These are chrome-plated steel hooks.
- Steel swivel bulldog clip. These clips are spring loaded for easy badge removal.
- Steel lobster claw. These have an upgraded, heavier metal clasp with a trigger snap.
- Plastic no-twist hook. These have non-metal end fittings for ID cards that need to face forward at all times and are great for younger attendees or staff who need to be easily identifiable.
- Steel split-ring. These are key-ring style metal circles.
- Breakaway lanyards. Breakaway clasps are a smart safety feature and can be added to the back of most lanyards.
Feel Confident in Your Badge Program
By keeping in mind your own goals, referencing these do’s and don’ts, and having a partner in place to provide the right supplies, you can feel confident in creating professional-looking and effective badges.